VSCode Extension
Overview
Set up VSCode to both connect to the server, allowing you access to the teriminal, and also modify files through the VSCode IDE.
Required Extensions
- Remote SSH
Installation Steps
1. Install Extensions
- Open VSCode
- Click on the Extensions icon in the sidebar (or press
Ctrl+Shift+X)
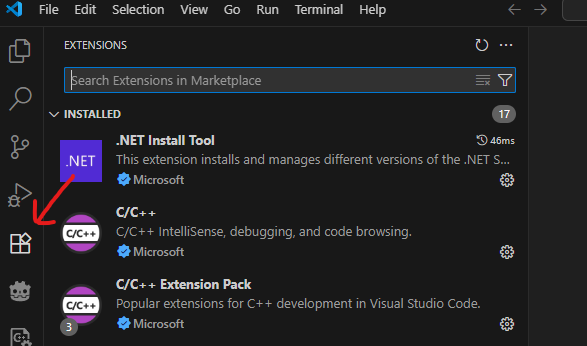
- Search for the Remote SSH extension
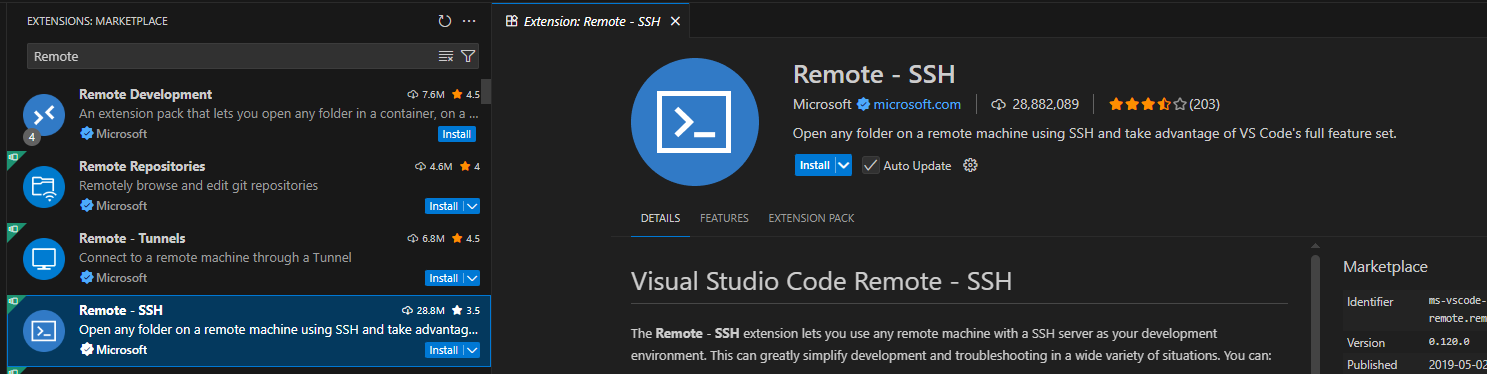 4. Click "Install".
2. Running the Extension
WARNING: Highly recommend you restart VSCode once the extension is installed
- Hit F1 (Windows/Linux) or Cmd+Shift+P (Mac) on your keyboard to open the Command Palette
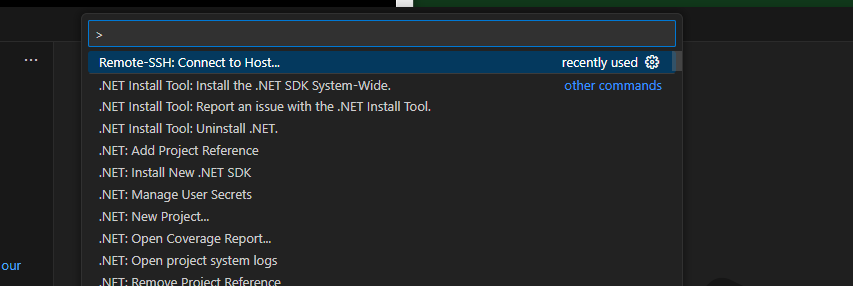
- Type "Remote-SSH" and select "Remote-SSH: Connect to Host..."
- Select "Add New SSH Host..."
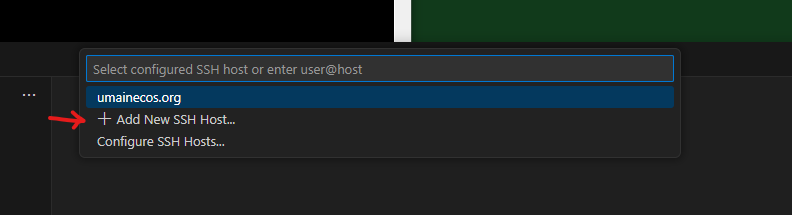
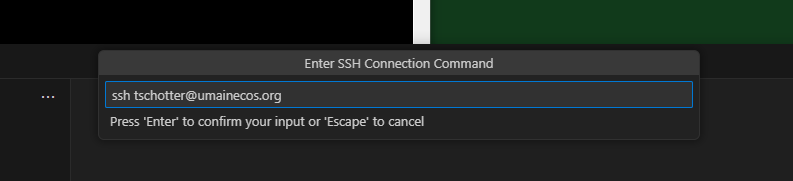
- Enter your SSH connection command:
ssh [username]@umainecos.org
-
Open the Remote-SSH again through the command pallet if nessessary.
-
You should see your new connection listed. Click on it to connect. You should see that your terminal looks like how you connected before. You can use the VSCode terminal the same way.
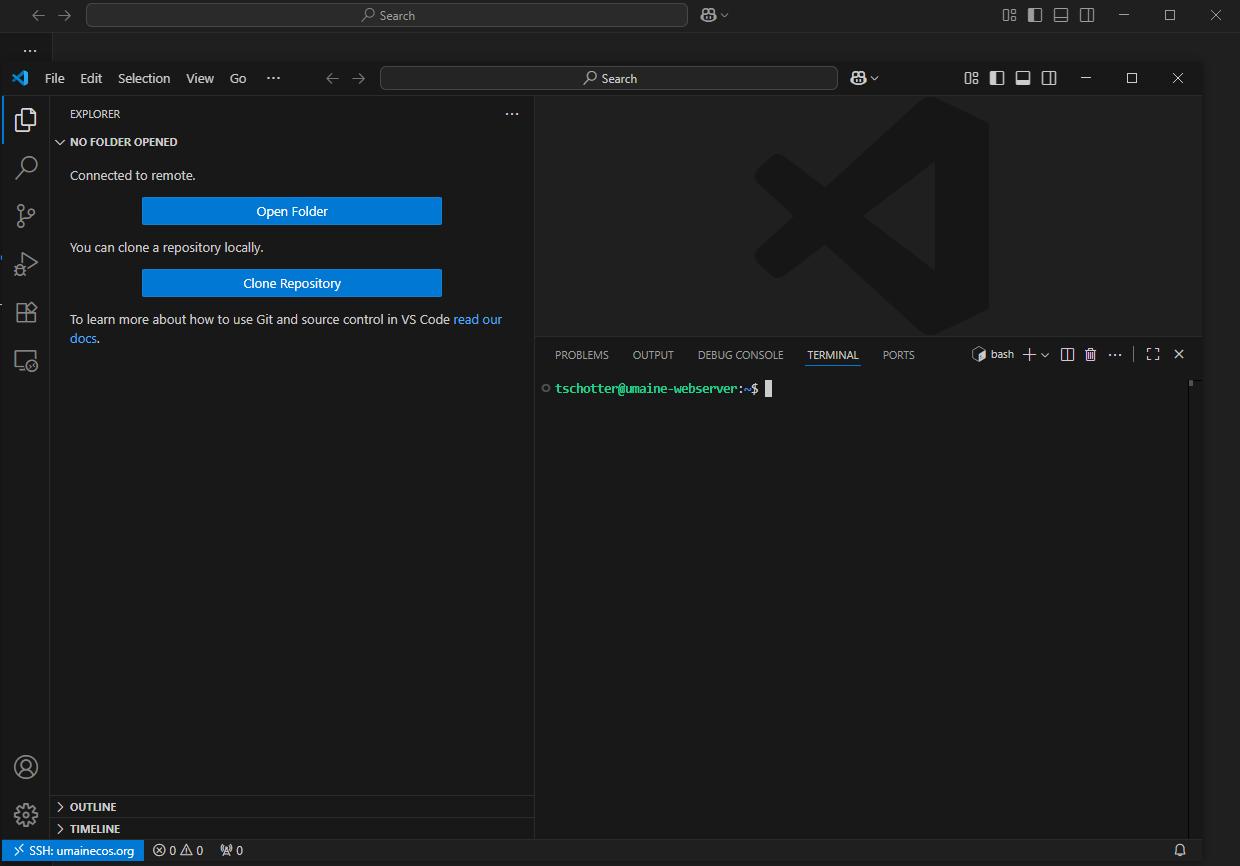
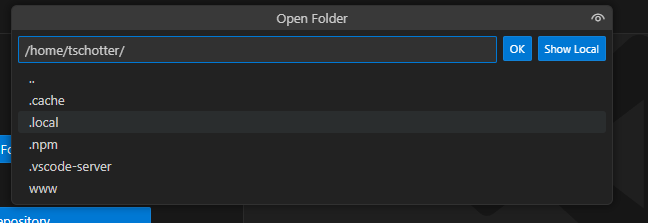
- Click on the "Open Folder" button on the left to choose what folder to have open in VSCode. Leave it as the default (the home folder). It may ask you for your password again.
Once connected, it should look like this:
3. Accessing Your Static Web Files
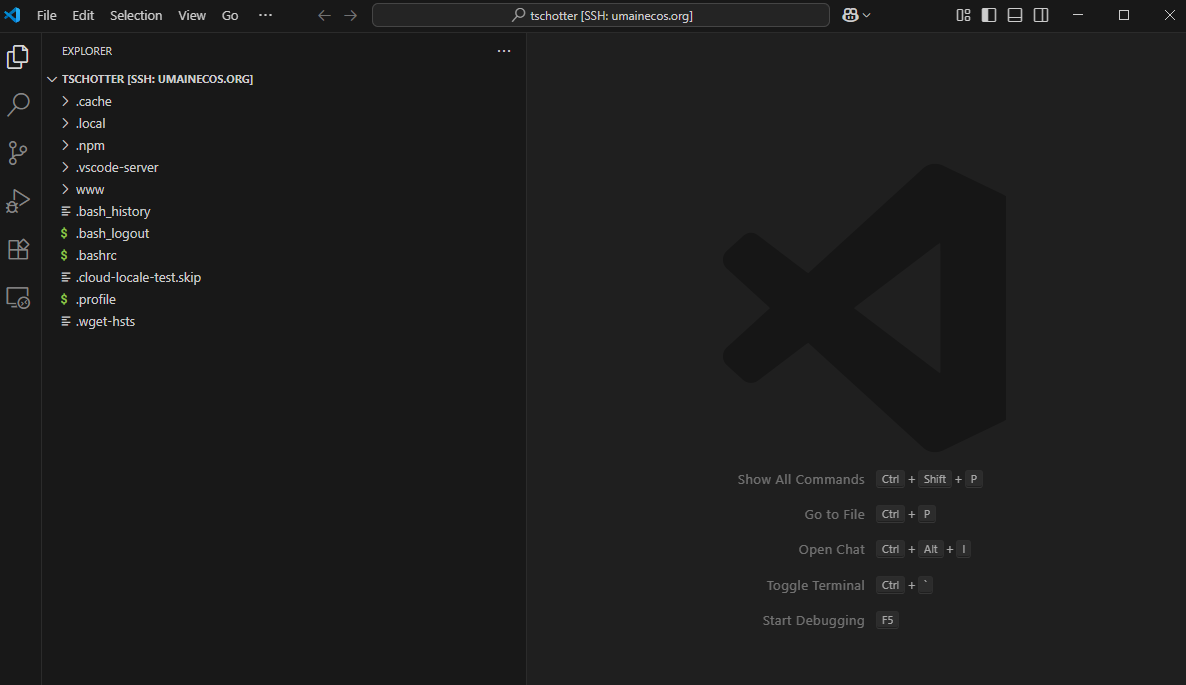
- Expand out your www/public_html to find your index.html.
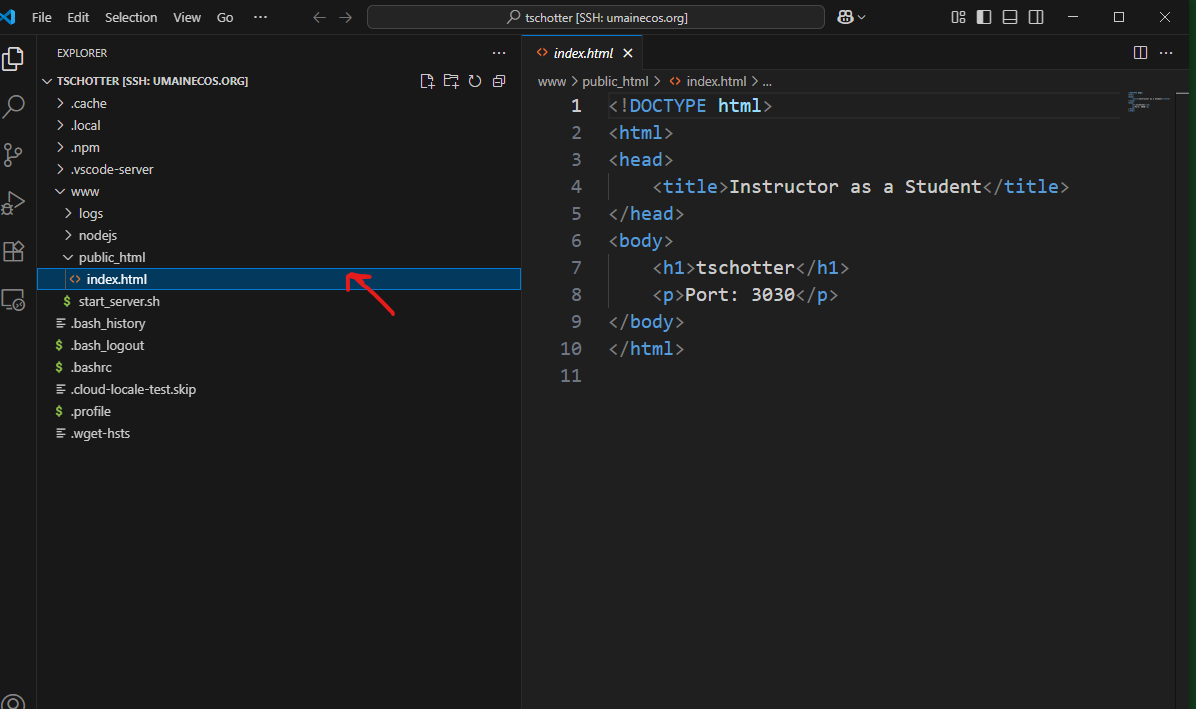
- Modify some aspect of your page and see if it changes on the site!
4. Verify Installation
- Open the integrated terminal (
Ctrl+``orView > Terminal) - You should see your server's terminal prompt
- Try running some basic Linux commands like
lsandpwd - Create a test file to verify file editing works
Troubleshooting
Common Issues
- Extensions not loading: Restart VSCode
Next Steps
With VSCode properly configured, you're ready to start modifying your HTML page! In the next chapter we'll talk about the basics of HTML and CSS. Just enough so that you understand the format.